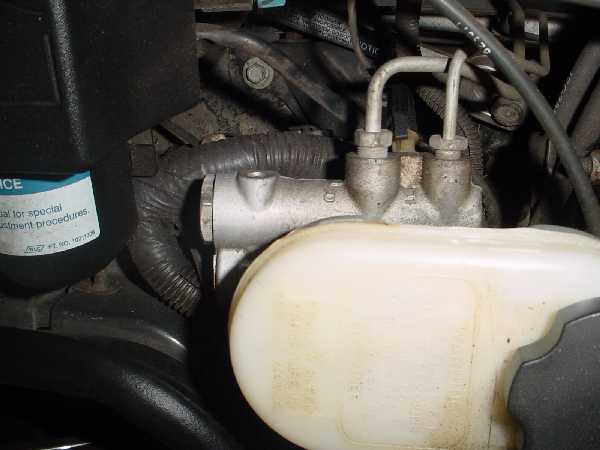
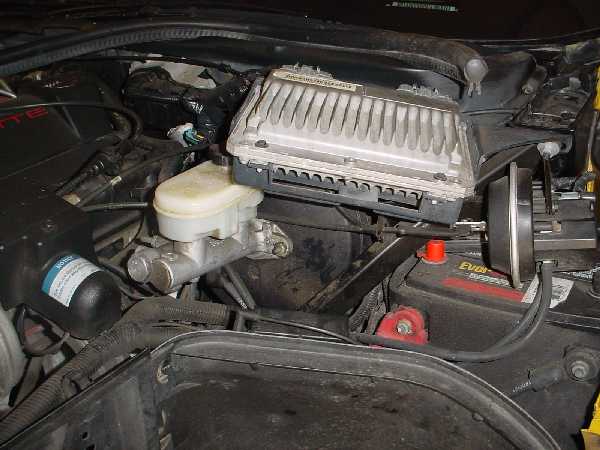
| Master cylinder as original. We will be using the line towards the rear of the car, marked F. | The mount point I used is the bracket underneath the ECM Remove the ECM and the ECM bracket. Carefully position the Roll control as shown, mark the spot and drill the hole. |
 |
 |
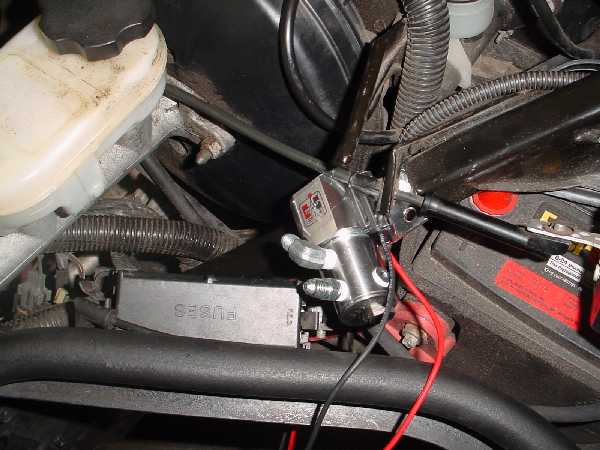
| Roll Control mounted with ECM removed. | Now carefully size up the lines and bend them as needed to mate with the roll control and then to the original brake line. Make sure that the line from the master cylinder goes into the inner roll control line (In my install that is the line with the 90 degree on it). |
 |
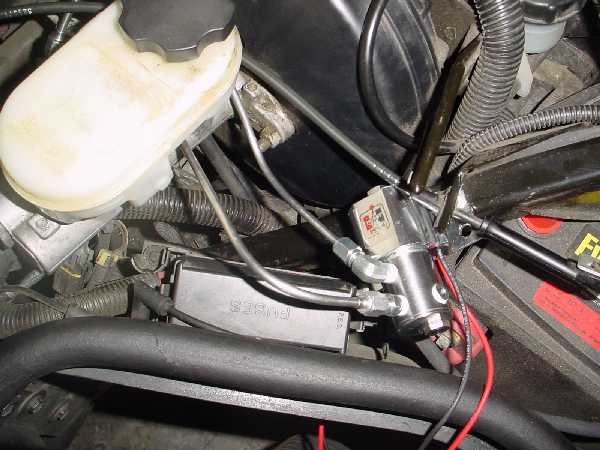 |
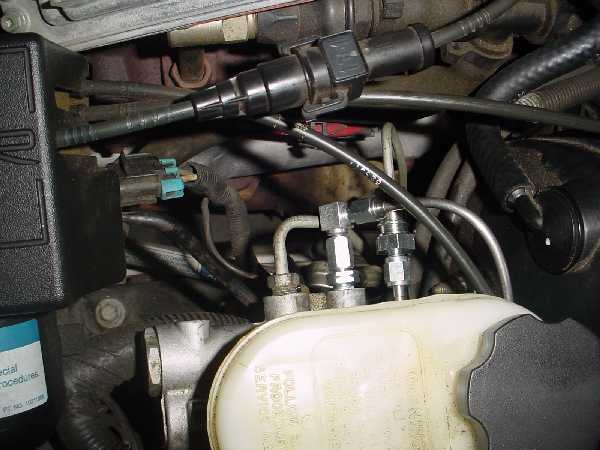
| Master Cylinder after installing new lines. | Make sure you bleed the brakes well at this point. |
 |
Installing the Electrical components is pretty easy. Run the black wire to a convenient bolt for a ground. An easy way through the firewall is at the hood release. Remove the battery, poke a small hole in the rubber boot for the hood release and push the wire through. Run the wire around and over to the console. You must remove the console plate to run the wire underneath. I found it was easier to remove the console lid, 4 screws, to remove the console. There are accessory power outlets underneath. Hook the switch to the wire labeled pink (looked more brown to me). This should be switched power. Then install the inline 4 amp fuse provided with the kit, reinstall the console and burn rubber. |